Easy No-Bake Icebox Cake with Summer Berries
Introduction
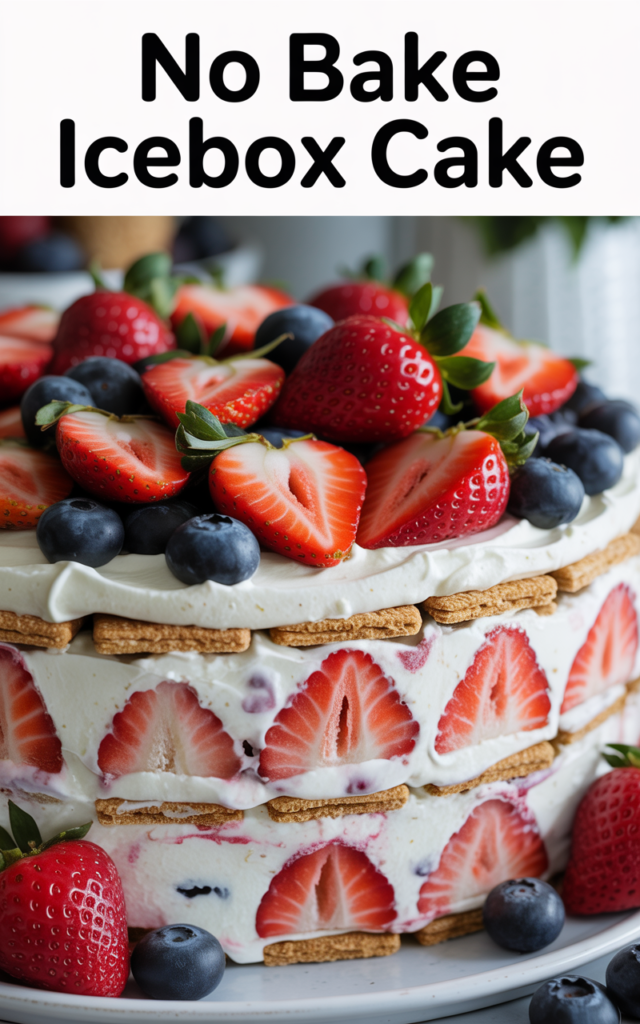
This Easy No-Bake Icebox Cake with Summer Berries is the ultimate summer dessert—fresh, simple, and bursting with the brightest seasonal flavors. With no oven required and minimal prep, it’s an ideal option for both busy weeknights and festive gatherings. Each bite offers luscious layers of whipped cream, soft cookies, and sweet, juicy berries, making it a delightfully cool treat you’ll crave all season long.
Why You’ll Love This No-Bake Icebox Cake
What makes this icebox cake irresistible is its effortless assembly and show-stopping presentation. Creamy layers meld with crisp, vibrant berries for a dessert that’s both rich and refreshing. The cake “sets” in the fridge, creating a perfectly tender, sliceable treat without the need for baking. Plus, it’s highly customizable—use whatever summer berries look best at your market.
Preparing Your Berries and Ingredients
The freshness of your berries makes all the difference in this recipe. To chop strawberries or other fruit quickly and evenly, a tool like the Mueller Pro-Series 10-in-1, 8 Blade Vegetable Chopper can save valuable prep time. Wash and dry your berries thoroughly; slice strawberries and keep raspberries and blueberries whole for the best texture.
For the cake layers, you’ll need classic graham crackers or crisp vanilla wafers. Choose a full-fat heavy cream for whipping, as it ensures the filling is rich and holds up beautifully overnight.
Layering Your Icebox Cake
Assembly is simple and requires only a few minutes of hands-on time. Line your serving dish with parchment to prevent sticking—the Reynolds Kitchens Brown Parchment Paper Roll works perfectly for easy cleanup and neat slices. Begin by spreading a layer of whipped cream, add a single layer of cookies, then a layer of berries. Repeat, finishing with a generous topping of cream and a fresh berry arrangement.
If you’re prepping this cake ahead, pop any unused whipped cream or berries into Rubbermaid Brilliance Food Storage Containers for maximum freshness.
Serving and Storing the Perfect Icebox Cake
After at least 4 hours (or overnight) in the fridge, the cookies will soften for a cake-like texture, while the berries will infuse the cream with summery sweetness. When it’s time to serve, use a clean, sharp knife and a sturdy bamboo cutting board to cut beautiful slices.
This dessert is perfect for picnics and potlucks; just tuck the dish into a cooler, or set it on a Pureegg Plastic Table Cloth Disposable at your outdoor spread for mess-free enjoyment.
Nutritional Information and Serving Size
This recipe yields 10–12 servings, each about 250–300 calories depending on cream and cookie choice. It’s a treat—rich, but full of fruit and great for sharing on special occasions.
No-Bake Icebox Cake (Recap)
This Easy No-Bake Icebox Cake with Summer Berries delivers effortless elegance: creamy, airy, and perfectly sweet with every forkful. It’s the go-to summer dessert when time is short but the need for something fresh and festive is high.
Ingredients
Instructions
- In a large bowl, whip the heavy cream, powdered sugar, and vanilla until stiff peaks form (use a stand mixer or hand mixer for best results).
- Line a 9×9 inch dish with a sheet of Reynolds Kitchens Brown Parchment Paper Roll for easy removal and clean slicing.
- Spread a thin layer of whipped cream on the bottom of the dish. Add a single layer of cookies, then a layer of mixed berries.
- Repeat the layers—cream, cookies, berries—until you’ve used all your ingredients, finishing with a top layer of cream and a decorative arrangement of berries. Sprinkle with optional lemon zest.
- Cover the dish and refrigerate for at least 4 hours, preferably overnight, to allow the layers to meld. Slice using a sharp knife and a sturdy bamboo cutting board for neat portions.
- Store leftovers in Rubbermaid Brilliance Food Storage Containers to keep your cake fresh for up to three days.
Cook and Prep Times
Prep Time: 20 minutes
Inactive Refrigeration Time: 4 hours (minimum)
Total Time: 4 hours 20 minutes
Enjoy this breezy, crowd-pleasing dessert all summer long!