Strawberry Crunch Cheesecake Cones
Introduction
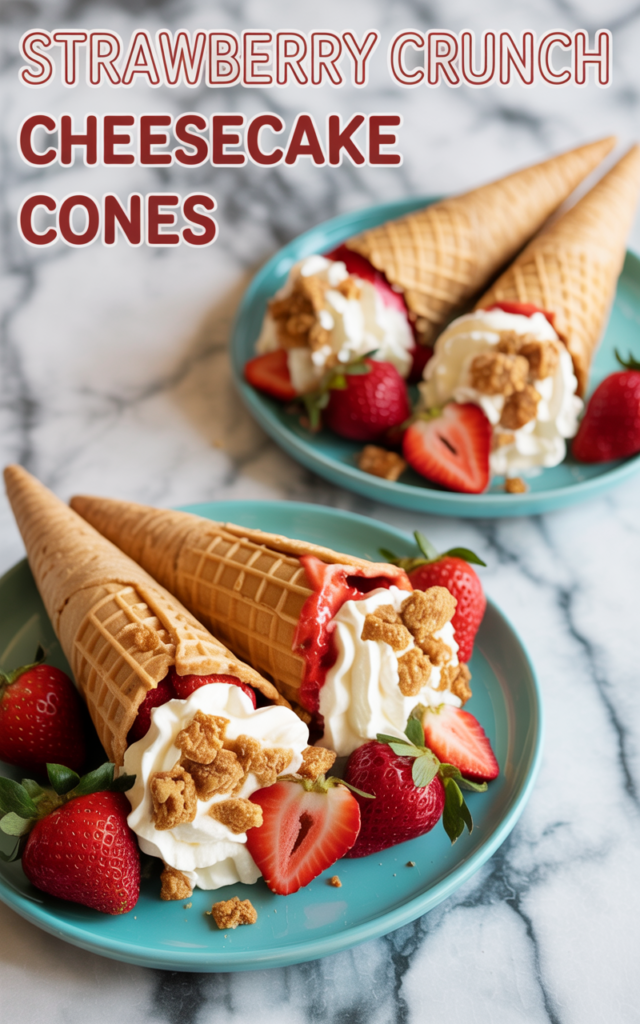
Imagine a dessert that captures the nostalgic crunch of a classic strawberry shortcake ice cream bar, wraps it around velvety cheesecake filling, and cradles it all in a crispy cone for the ultimate hand-held treat. Strawberry Crunch Cheesecake Cones perfectly balance creamy, tangy, and crunchy layers, making them an eye-catching crowd-pleaser for parties, BBQs, or anytime you crave an indulgent, portable dessert.
What Makes Strawberry Crunch Cheesecake Cones Irresistible?
The magic of this recipe lies in the contrasting textures and flavors: ultra-creamy cheesecake mousse gets piped into crispy waffle cones, then rolled in a crunchy, sweet strawberry and golden cookie coating. Not only do these cones taste incredible, but their playful, vibrant appearance makes them a hit at any event—guaranteed to spark smiles and conversation.
Crafting the Creamy Cheesecake Filling
For the smoothest, fluffiest cheesecake filling, you’ll want to blend cream cheese, powdered sugar, and a touch of vanilla until airy. This is easiest achieved with a high-powered Ninja BL610 Professional 72 Oz Countertop Blender, Black. Fold in whipped cream gently to keep the mousse extra light and pipeable.
To pipe the filling into cones flawlessly, use either a piping bag or a large zip-top bag with the corner snipped off.
Making the Signature Strawberry Crunch Coating
To achieve that iconic strawberry crunch, pulse freeze-dried strawberries and golden sandwich cookies in a food processor or a Ninja BL610 Professional 72 Oz Countertop Blender, Black until you get pea-sized crumbs. A sprinkle of melted butter helps the mixture adhere to the cones for that must-have sweet crunch in every bite.
Spread your crumbled coating on a parchment-lined tray using the Reynolds Kitchens Brown Parchment Paper Roll, 45 Square Feet for easy cleanup and perfect coverage, then roll or sprinkle it over the filled cones.
Assembling and Serving Strawberry Crunch Cheesecake Cones
Once the cones are filled and rolled in the strawberry crunch topping, chill them for 15–30 minutes to let the cheesecake set and the flavors mingle. For a clean workstation—a must for this recipe’s colorful crumbs—protect your surfaces with a Pureegg Plastic Table Cloth Disposable 10 Pack, White.
These cones are best enjoyed chilled, straight from the fridge. Present them standing upright in a tall glass or a bowl filled with decorative sugar for a striking display.
Nutritional Information and Portions
This recipe makes about 8 Strawberry Crunch Cheesecake Cones. Each plush, handheld dessert clocks in at approximately 350–400 calories per cone, making them a rich treat best saved for festive occasions.
Strawberry Crunch Cheesecake Cones (Recap)
A playful mix of creamy, crunchy, tangy, and sweet, these cones are easy to make, gorgeous to serve, and utterly irresistible. Strawberry Crunch Cheesecake Cones offer a novel twist on nostalgic flavors, bringing people together bite after bite.
Ingredients
Instructions
- In a mixing bowl, beat the softened cream cheese, powdered sugar, and vanilla until smooth and creamy. For perfectly smooth results, use the Ninja BL610 Professional 72 Oz Countertop Blender, Black if desired.
- In a separate bowl, whip the heavy cream until stiff peaks form. Gently fold into the cream cheese mixture until fully incorporated for a light, mousse-like filling.
- Transfer the filling to a large piping bag or zip-top bag. Pipe generously into each waffle cone, filling all the way to the top.
- To make the strawberry crunch, blend golden sandwich cookies and freeze-dried strawberries together into coarse crumbs—your Ninja BL610 Professional 72 Oz Countertop Blender, Black or a food processor works well for this step. Stir in melted butter.
- Spread the crunch coating on a parchment-lined tray using the Reynolds Kitchens Brown Parchment Paper Roll, 45 Square Feet. Roll the open (cheesecake-filled) ends of each cone in the mixture, pressing gently to adhere.
- For tidy prep and serving, cover your workspace with a Pureegg Plastic Table Cloth Disposable 10 Pack, White, then garnish cones with diced fresh strawberries if you like.
- Chill the cones for at least 15–30 minutes before serving, allowing the cheesecake to firm and the flavors to marry beautifully.
Cook and Prep Times
Prep Time: 30 minutes
Cook Time: 0 minutes
Total Time: 45 minutes (including chilling time)