Dulce de Leche Cheesecake Bars
Introduction
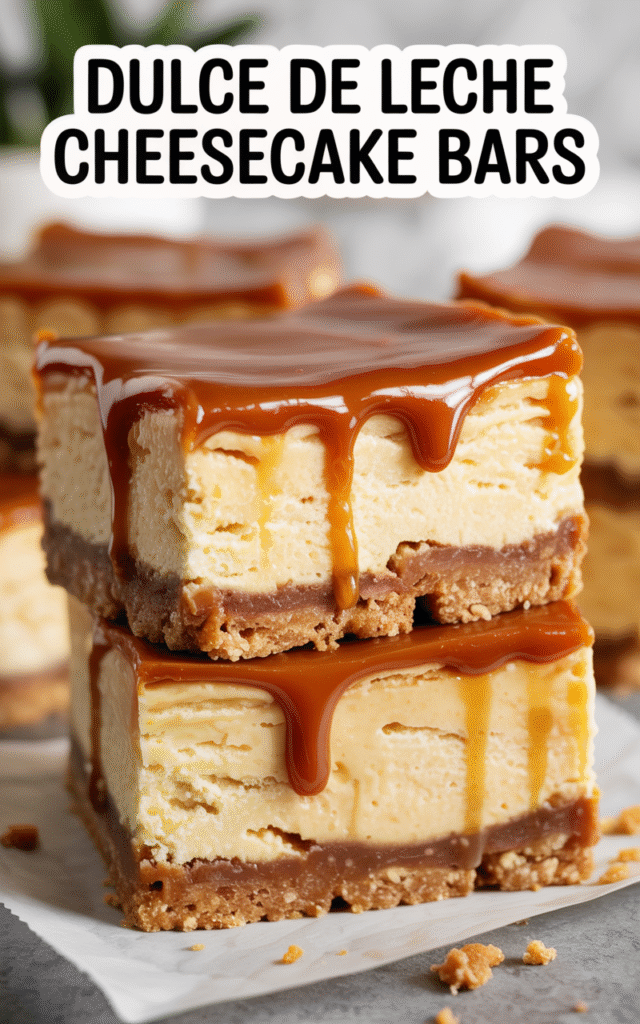
Looking for a show-stopping dessert that delivers both flavor and visual appeal with minimal fuss? Dulce de Leche Cheesecake Bars bring a creamy, caramel-infused twist to classic cheesecake, making them the ultimate treat for gatherings, holidays, or whenever you crave something decadent. These bars combine the rich tang of cheesecake with silky dulce de leche, offering a crowd-pleasing combination that’s surprisingly easy to make and even easier to serve.
Why These Dulce de Leche Cheesecake Bars Stand Out
Dulce de leche’s deep caramel notes blend beautifully with a velvety cheesecake filling atop a crisp, buttery crust. Whether you’re a cheesecake purist or a caramel enthusiast, this recipe yields tidy, handheld squares—perfect for sharing at parties or saving as an indulgent snack. Best of all, it transforms simple pantry staples into a dessert that looks (and tastes) bakery-worthy.
Creating a Perfect Cheesecake Base
To guarantee even slices and a smooth, luscious texture, always use a well-lined baking pan. A layer of parchment paper, such as the Reynolds Kitchens Brown Parchment Paper Roll, ensures easy lifting and prevents sticking. For the crust, finely crushed cookies or graham crackers mixed with just enough melted butter form the ideal foundation. Gently press this mixture down with the bottom of a measuring cup for an even, compact layer.
Blending the Ultimate Creamy Filling
A stand or countertop blender is invaluable for achieving a silky-smooth cheesecake batter. The Ninja BL610 Professional 72 Oz Countertop Blender, Black rapidly combines cream cheese, eggs, and sugar into a flawless base. Once incorporated, swirl in generous dollops of dulce de leche. The marbled effect adds a gorgeous finish and ensures pockets of caramel in every bite.
Baking, Chilling, and Slicing Your Cheesecake Bars
When baking cheesecake bars, even heat distribution is key. Place the lined pan in the center of your oven and bake until the center only just jiggles. Once cooled, a sharp knife run under hot water guarantees clean cuts, turning your bake into perfect, uniform bars. For storage, keep your bars in a set of airtight containers like the Rubbermaid Brilliance Food Storage Containers, Set of 5 (3.2 Cup) to maintain optimal texture and flavor.
For serving, a silicone oven mitt set like the KitchenAid Ribbed Soft Silicone Oven Mitt Set protects your hands when moving hot pans, ensuring safety and confidence in the kitchen.
Serving and Presenting Dulce de Leche Cheesecake Bars
Arrange the finished bars on a decorative platter or line up in a festive box. For extra detail, drizzle with additional dulce de leche and scatter a few flakes of sea salt. Pair with coffee, tea, or a glass of milk for a well-rounded dessert experience.
Nutritional Information and Serving Size
This recipe typically yields 16 luscious bars. Each serving contains approximately 220–250 calories, depending on the thickness of your dulce de leche topping and the type of crust used. Enjoy these in moderation—they’re rich, satisfying, and worthy of every bite.
Simple, Crowd-Pleasing Dulce de Leche Cheesecake Bars (Recap)
With an irresistible caramel swirl, rich cheesecake filling, and a crisp cookie crust, these bars are sure to impress. They deliver a decadent dessert experience without hours of hands-on time and are easy to transport and serve, making them ideal for any celebration.
Ingredients
Instructions
- Preheat your oven to 325°F (163°C). Line an 8×8-inch baking pan with a sheet of Reynolds Kitchens Brown Parchment Paper Roll, leaving overhang on all sides for easy removal.
- Combine graham cracker crumbs, sugar, and melted butter in a large bowl. Press firmly and evenly into the bottom of the lined pan using the base of a measuring cup or flat glass. Bake the crust for 8–10 minutes, then let cool.
- In a Ninja BL610 Professional 72 Oz Countertop Blender, blend softened cream cheese, sugar, eggs, and vanilla until completely smooth.
- Pour the cheesecake mixture over the cooled crust and spread into an even layer. Dollop spoonfuls of dulce de leche on top and use a skewer or knife to gently swirl through the batter for a marbled effect.
- Bake for 35–40 minutes, or until the edges are set but the center is slightly jiggly. Remove from oven with a KitchenAid Ribbed Soft Silicone Oven Mitt Set and cool completely at room temperature. Chill at least 3 hours in the refrigerator.
- Lift bars from the pan with the parchment overhang. Slice into squares using a warm, sharp knife for clean edges. Store in Rubbermaid Brilliance Food Storage Containers for freshness.
- Optionally, sprinkle with flaky sea salt and serve chilled.
Cook and Prep Times
Prep Time: 25 minutes
Cook Time: 40 minutes
Total Time: 4 hours (includes chilling time)