Easy No-Bake Crunch Protein Bars
Introduction
Easy No-Bake Crunch Protein Bars are the ultimate solution for those seeking a healthy, satisfying snack that doesn’t sacrifice taste or nutrition. With a balanced blend of protein, fiber, and irresistible crunch, these bars are perfect for busy mornings, post-workout fuel, or guilt-free dessert cravings.
This recipe is not only quick and incredibly simple—no oven required—but also highly customizable, making it a favorite among fitness enthusiasts, meal preppers, and anyone looking to stay energized throughout the day.
Why These Protein Bars Are a Game Changer
Unlike many store-bought bars with hidden sugars or artificial ingredients, these homemade bars use wholesome pantry staples. They offer a deep, nutty flavor and a pleasing crunch that rivals any commercial option, all while being adaptable to your dietary needs. Their no-bake approach means you save time in the kitchen without compromising on taste or texture.
Ingredients for Easy No-Bake Crunch Protein Bars
Gathering high-quality ingredients is key to getting that chewy, crunchy balance. Start with rolled oats, your preferred protein powder, nut butter, and a crunchy mix-in, like puffed quinoa or crisp brown rice cereal. Add some honey or maple syrup for natural sweetness, and feel free to fold in extra flavor with dark chocolate chips, dried fruit, or chopped nuts.
Measuring out ingredients accurately is crucial for even, well-set bars; a Amazon Basics Digital Kitchen Scale with LCD Display can ensure consistent results every batch.
Mixing and Shaping Your Bars
For a fuss-free blending process, use a Ninja BL610 Professional 72 Oz Countertop Blender or a large bowl with a sturdy spatula to combine all your dry and wet ingredients until a uniform dough forms. Lining your pan with a reliable layer from the Reynolds Kitchens Brown Parchment Paper Roll makes for effortless removal and cleaner slicing.
When pressing the mixture into your baking dish, an even thickness helps the bars set properly and slice neatly. For precision, you can use the base of a flat glass or even your hands, optionally covered with another piece of parchment.
Chilling and Storing for Maximum Freshness
Since these bars don’t require baking, chilling is the crucial step that allows them to firm up. Place the pan in your fridge for at least an hour or until the mixture is solid and no longer sticky. Once set, lift the slab out using the parchment edges and cut into uniform bars.
For mess-free, on-the-go snacking, pack the bars into tight-fitting Rubbermaid Brilliance Food Storage Containers, which help keep the bars fresh and portable throughout the week.
Serving Ideas and Customization
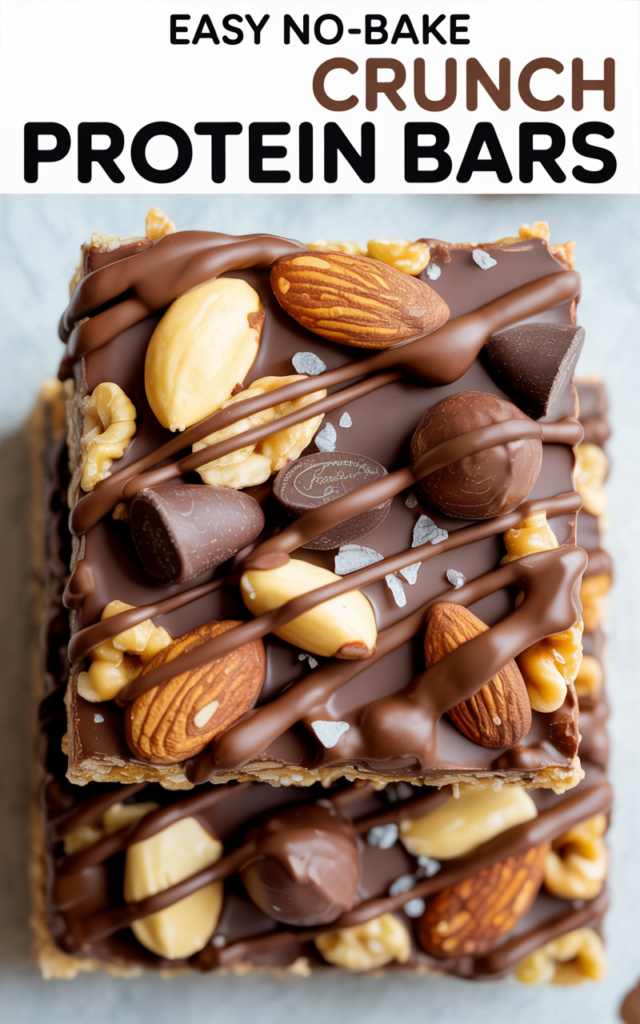
These bars thrive on creativity: add a drizzle of melted chocolate, a sprinkle of flaked sea salt, or swap in different nut butters or sweeteners to suit your taste and macro preferences. Keep a chilled Stanley Quencher H2.0 Tumbler with Handle and Straw nearby for a refreshing beverage to pair with this energizing snack.
Nutritional Information and Yield
This recipe yields about 12 bars, each offering roughly 180–220 calories, depending on your ingredients and add-ins. You’ll get a good balance of protein, healthy fats, and fiber, making these bars a wholesome addition to any diet.
Easy No-Bake Crunch Protein Bars (Recap)
Fast, fuss-free, and full of flavor, these protein bars deliver on every level: nutrition, convenience, and customizable crunch. Whether you’re looking for a powerful pre-workout bite or a nourishing afternoon snack, this recipe is sure to become a repeat favorite.
Ingredients
Instructions
- Line an 8×8-inch pan with a sheet of Reynolds Kitchens Brown Parchment Paper Roll, letting excess hang over the sides for easy removal.
- In a large mixing bowl (or using your Ninja BL610 Professional 72 Oz Countertop Blender), combine the rolled oats, protein powder, puffed quinoa or rice cereal, cinnamon, salt, and any optional mix-ins.
- In a small saucepan, gently heat the nut butter and honey/maple syrup over low heat until easily pourable. Remove from heat and pour over dry ingredients. Mix well until fully incorporated.
- Scrape the mixture into your lined pan and press down evenly with the back of a spoon or your hands covered with another piece of parchment.
- Chill in the refrigerator for at least 1 hour, or until the bars are firm enough to cut cleanly.
- Lift out the set mixture using the parchment edges and cut into 12 bars. Store in Rubbermaid Brilliance Food Storage Containers in the refrigerator for up to a week.
Cook and Prep Times
Prep Time: 10 minutes
Chill Time: 1 hour
Total Time: 1 hour 10 minutes