Gooey Butter Cake: How to Bake the Perfect One
Introduction
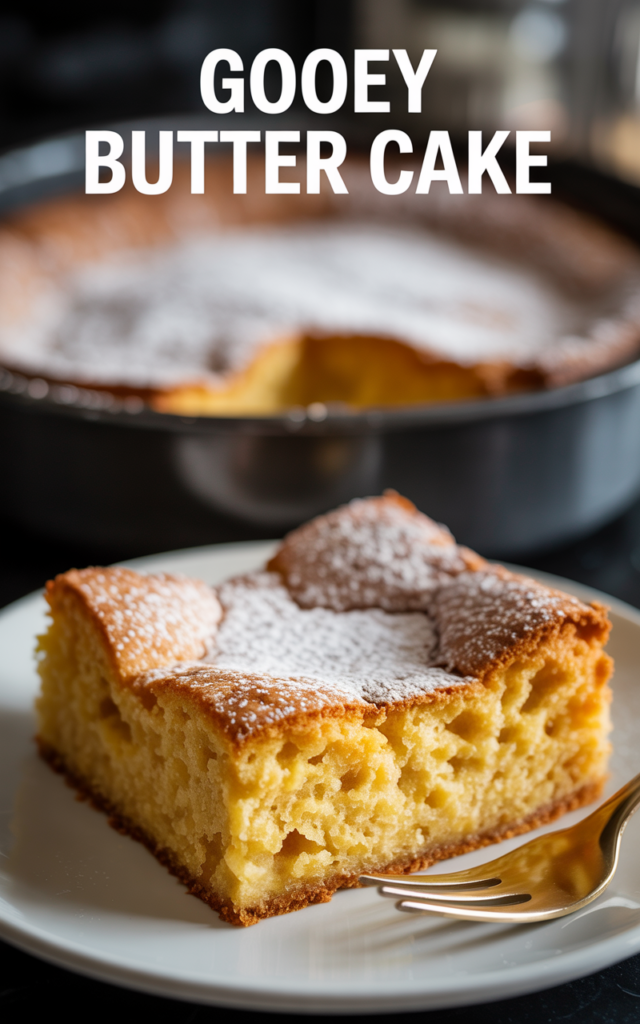
Few desserts are as delightfully indulgent and universally beloved as Gooey Butter Cake. With its luxuriously soft, buttery base and irresistibly gooey top layer, this classic treat strikes the perfect balance between cake and custard. It’s renowned for its melt-in-your-mouth texture and sweet vanilla aroma, making it a surefire crowd-pleaser for any gathering or special occasion.
Whether you’re a seasoned baker or a kitchen novice, mastering the art of Gooey Butter Cake is easier than you might think. With straightforward steps and ingredients you likely already have on hand, this recipe promises maximum reward for minimal effort.
The Secret to the Ultimate Gooey Butter Cake
What sets Gooey Butter Cake apart is its wonderfully contrasting layers: a rich, chewy foundation topped with a creamy, custard-like filling. The top bakes up shiny and crackly, while the inside remains decadent and soft. It’s a flavor and texture experience that never fails to impress — perfect for potlucks, holiday feasts, or just when you want a dessert that feels indulgent and homey at the same time.
Steps for Creating a Perfect Gooey Butter Layer
Achieving the ideal gooey layer begins with a well-prepared pan. Line your baking dish with Reynolds Kitchens Brown Parchment Paper Roll for effortless removal and easy cleanup. This small step makes it much easier to transfer your cake without sticking or breaking.
Whisk your eggs and cream cheese until completely smooth using a sturdy spatula or stand mixer. For precision when measuring your flour and sugar (vital for the gooey consistency), a Amazon Basics Digital Kitchen Scale with LCD Display, Black and Stainless Steel offers excellent accuracy and helps guarantee the right balance in every batch.
Lastly, always sift the powdered sugar into your topping layer to avoid lumps and ensure that beguilingly smooth texture.
Baking and Cooling: Getting That Signature “Goo”
The magic of Gooey Butter Cake lies in baking it just long enough. You want the edges to be set and slightly golden, with the center still a bit wobbly when you give the pan a gentle shake. This ensures that glorious gooey layer forms as it cools.
Handling a hot pan can be tricky, so invest in a reliable set of mitts like the KitchenAid Ribbed Soft Silicone Oven Mitt Set to keep your hands safe. After baking, let the cake cool completely in the pan before lifting it out for clean, defined slices.
Serving Ideas for Gooey Butter Cake
While traditional Gooey Butter Cake is excellent on its own, a few simple garnishes can elevate it further. Dust the cooled cake with extra powdered sugar just before serving. For a fruity contrast, serve with fresh berries or a tart raspberry coulis.
If you’re preparing ahead or have leftovers, store slices in Rubbermaid Brilliance Food Storage Containers to maintain freshness and keep the cake’s signature texture intact.
Nutritional Information and Serving Size
This recipe yields 12 generous squares. Each serving clocks in around 320–350 calories, making it a treat to savor on special occasions. While rich, a small piece delivers plenty of flavor and satisfaction.
Gooey Butter Cake Recap
With its unforgettable texture and sweet, buttery flavor, Gooey Butter Cake is the ultimate dessert for bakers looking to please a crowd or treat themselves to something special. The straightforward ingredients and simple steps deliver extraordinary results — perfect for any occasion, any time.
Ingredients
Instructions
- Preheat your oven to 350°F (175°C). Line a 9×13-inch baking pan with a sheet of Reynolds Kitchens Brown Parchment Paper Roll, leaving enough overhang to lift the cake out after baking.
- For the crust: Combine the cake mix, melted butter, and egg in a large bowl. Mix until a thick dough forms, then press evenly into the bottom of your prepared pan using clean hands or a flat spatula.
- For the filling: In another bowl, mix together softened cream cheese and eggs until very smooth, using the Amazon Basics Digital Kitchen Scale to measure powdered sugar precisely. Add vanilla and melted butter, then stir until well combined. Sift in the powdered sugar and mix again until silky and lump-free.
- Pour the creamy filling over the crust, spreading it evenly to the edges. Gently tap the pan on the counter to eliminate air bubbles.
- Bake for 40–45 minutes, or until the top is golden and shiny and the center is slightly wobbly when gently shaken. Carefully remove from the oven using KitchenAid Ribbed Soft Silicone Oven Mitts.
- Allow the cake to cool completely in the pan. Use the parchment paper to lift it out before cutting into squares.
- Store any remaining cake in Rubbermaid Brilliance Food Storage Containers for up to 3 days at room temperature or in the fridge for longer freshness.
Cook and Prep Times
Prep Time: 15 minutes
Bake Time: 40–45 minutes
Total Time: 1 hour